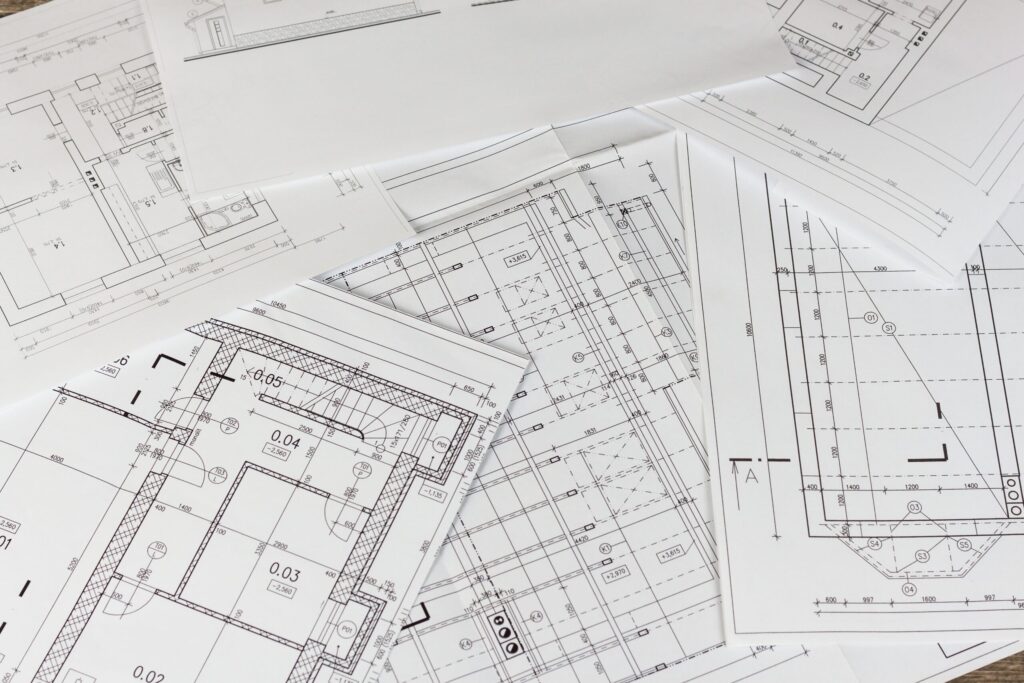
AutoCAD to blueprint printing: Our AutoCAD to blueprint printing service delivers expert results.

AutoCAD remains the industry standard for creating construction drawings, but getting from your CAD file to a properly printed blueprint involves several critical steps. At RK Reprographics, we work with architects and engineers daily who want to ensure their blueprints are printed at the highest quality.
This complete workflow guide covers everything from preparing your AutoCAD drawing files to selecting the right print settings, choosing paper sizes, and working with professional printing services to deliver blueprints that match your design intent.
Preparing Your AutoCAD Drawing for Printing
Before you even think about printing, your AutoCAD drawing needs proper preparation. We’ve seen too many projects delayed because drawings weren’t set up correctly for output. Spend time getting this right, and your printing process becomes smooth and efficient.
Start by checking layer organization. In AutoCAD, layers control visibility and printing properties. Ensure you have layers set appropriately—some may be for reference and shouldn’t print, while construction document layers must print clearly. Our experience at RK Reprographics shows that firms investing in proper layer setup avoid 90% of printing problems.
Review All Layers – Identify which layers should print and which are reference-only.
Check Line Weights – Verify that line weights are appropriate and will display correctly when printed.
Verify Text Legibility – Ensure text sizes are large enough to read in printed form.
Check Color Usage – Confirm that colors will work whether printing in color or black and white.
Setting Up Print Styles and CTB Files
AutoCAD uses either CTB (color-based) or STB (style-based) plot files to control how drawings translate to paper. These files determine line weights, colors, and other printing characteristics. Understanding and setting up your plot styles properly is essential for consistent blueprint output.
Most firms benefit from using CTB files, which map AutoCAD colors to specific line weights and styles. When you print, the software uses your CTB file to convert screen display into print representation. At RK Reprographics, we’ve created standard CTB files for many of our clients, ensuring their blueprints always print consistently.
If your firm doesn’t have a standardized CTB file, now is the time to create one. Set line weights so that major elements (walls, structure) print bold, coordination lines and dimensions print lighter, and reference elements print very faintly or not at all. Save this as a named file your team can reuse across projects.
Choosing the Right Paper Size and Scale
Blueprint paper sizes and scales aren’t arbitrary—they follow industry conventions that help contractors and builders understand drawings immediately. The most common sizes are 24×36 inches and 22×34 inches (ANSI E), followed by 18×24 inches (ANSI D) for smaller projects.
Scale selection depends on drawing complexity and sheet size. Architectural plans typically print at 1/8 inch = 1 foot for large buildings or 1/4 inch = 1 foot for smaller structures. Structural and MEP drawings often use 1/8 inch = 1 foot. Details scale up to 1/2 inch = 1 foot or larger depending on detail complexity.
In AutoCAD, set up your sheet layouts to match your chosen paper size and ensure your drawings fit properly. Layouts (often called paper space) are where you arrange your drawing on a sheet template before printing. Our clients at RK Reprographics use standardized layout templates that include titleblocks, notes, and revision blocks, ensuring all their drawings maintain consistent formatting.
Configuring AutoCAD Print Settings
When you’re ready to print, AutoCAD’s print dialog offers numerous settings that directly affect your blueprint quality. Understanding these settings prevents costly mistakes.
Printer Selection – Choose a printer capable of your desired output size. Large-format printers are required for 24×36 blueprints.
Paper Size – Match your selected paper size exactly to avoid scaling issues.
Plot Area – Typically “Extents” for normal drawings or “Layout” for sheet-based drawings.
Plot Offset – Usually set to center, but adjust if your printer requires specific margins.
Plot Style Table – Select your CTB file to ensure colors print as intended.
Orientation – Choose landscape or portrait based on your drawing layout.
Exporting to PDF Before Printing
We strongly recommend exporting your AutoCAD drawing to PDF before submitting to print, whether you’re printing in-house or sending to a professional service like RK Reprographics. PDF export serves multiple purposes: it creates a universal file format, allows you to review output before printing, and prevents compatibility issues when transferring to other devices.
In AutoCAD, use ‘Export to PDF’ and choose ‘High Quality Print’ settings. This creates a PDF that closely represents how your drawing will print. Review the PDF in a dedicated viewer—PDFs sometimes display differently in web browsers versus viewers like Adobe Acrobat.
Check that all elements appear correctly: lines show proper weights, text is legible, dimensions are clear, and no unexpected elements are missing or appearing. This review step catches problems before they become expensive printing mistakes.
Working with Professional Printing Services
For high-volume blueprint printing or when you need premium quality, professional printing services offer advantages over in-house printing. At RK Reprographics, we work with architectural and engineering firms to deliver blueprints that exceed expectations.
When submitting AutoCAD files for professional printing, provide both the native CAD file and a PDF export. Include your plot style file (CTB) and note any special requirements like specific paper stock, folding, or binding. Professional services can often suggest improvements to your drawing preparation that enhance quality.
Quality professional printing offers superior line definition, better color accuracy if printing in color, and larger volume capacity than most in-house operations. For construction documents that represent your firm’s reputation and technical expertise, professional printing is often worth the investment.
Troubleshooting Common Printing Problems
Even with proper preparation, printing problems occasionally occur. Here’s how to diagnose and solve common issues:
Lines Too Thin or Too Bold – Check your CTB file settings and line weight assignments.
Text Illegible or Missing – Verify text size is large enough and text layer is set to print.
Drawing Scaled Incorrectly – Confirm page setup, scale settings, and that your layout is properly configured.
Colors Print Differently Than Expected – Review your CTB file or switch to black and white plotting.
Unwanted Elements Appearing – Check that reference or xref layers are set appropriately.
Frequently Asked Questions
More AutoCAD to blueprint printing content.
Can we print AutoCAD drawings on regular office printers?
Not practically. Office printers handle maximum paper widths of 11-17 inches, while blueprints are 22-36 inches wide. Large-format printers or professional services are required for proper blueprint output.
Should we use the same plot style file for all our projects?
Yes, if your firm has standardized drawing conventions. A single CTB file ensures consistency across all projects and prevents teams from recreating style settings repeatedly. We help our clients at RK Reprographics establish these standards.
What’s the advantage of printing to PDF versus directly to a printer?
PDF export lets you review your output before printing, catches errors early, and creates an archival file. It also removes hardware variables that might cause inconsistent results if printing on different machines.
How should we handle revisions when printing updated drawings?
Always include revision letters or numbers in your drawing, and print a full set with each revision. Keep previous revision prints for reference and archive, but mark them clearly as superseded to prevent confusion on job sites.
Implementation Best Practices
Successfully implementing the strategies discussed in this article requires careful planning and execution. Start by assessing your current workflow and identifying pain points. What’s taking too long? Where are errors occurring? How could processes be more efficient?
Once you’ve identified key issues, prioritize addressing them. Don’t try to transform everything at once. Focus on the highest-impact improvements first. Quick wins build momentum and demonstrate value, making it easier to gain buy-in for more comprehensive changes.
Training and Change Management
Any process change requires team understanding and buy-in. Invest time training your team on new procedures, new software, or new workflows. Explain the “why” behind changes, not just the “how.” When teams understand the benefits, they’re more likely to adopt new practices.
Expect an adjustment period. Initial adoption will be slower than the steady-state performance you’ll eventually achieve. Be patient with the learning curve and provide support as teams work through implementation.
Measuring Success
Establish clear metrics for evaluating the success of your changes. Is turnaround time faster? Are errors decreasing? Are teams more satisfied with the workflow? Track these metrics before and after implementation so you can objectively assess improvements.
Share results with your team. When people see concrete improvements from new processes, they become advocates for continued adoption and improvement.
Continuous Improvement Culture
The most successful organizations adopt a mindset of continuous improvement. Don’t expect to implement perfect solutions. Instead, implement thoughtful solutions, measure results, gather feedback, and refine.
Encourage your team to suggest improvements. They work in the processes daily and see opportunities that management might miss. Creating a culture where feedback is welcomed and improvements are implemented fosters engagement and better outcomes.
Long-Term Strategic Thinking
While short-term improvements are valuable, also think strategically about where your organization is headed. How will your printing needs evolve as your business grows? What technologies or practices might become important in coming years?
Investing in systems and processes that can scale with your growth prevents the need for disruptive overhauls later. Similarly, staying aware of industry trends helps you anticipate changes and adapt proactively rather than reactively.
Partnership with Your Print Provider
Your print provider should be a partner in your success, not just a vendor. Good providers offer insights about industry best practices, alert you to potential issues before they become problems, and work with you to optimize your printing program.
Communicate openly with your provider. Tell them about your challenges, your goals, and your timeline. The more they understand your business, the better they can support it.
Investing in Excellence
Quality matters. Investing in excellent processes, reliable vendors, and proper training delivers returns through reduced errors, improved efficiency, and better outcomes. Don’t make the mistake of choosing providers solely on price. The cheapest option is often the most expensive in the long run when quality suffers.
By implementing thoughtful strategies and maintaining focus on continuous improvement, you’ll develop a printing program that truly supports your organization’s success. See our large format printing or contact us. Resources at printing.org.